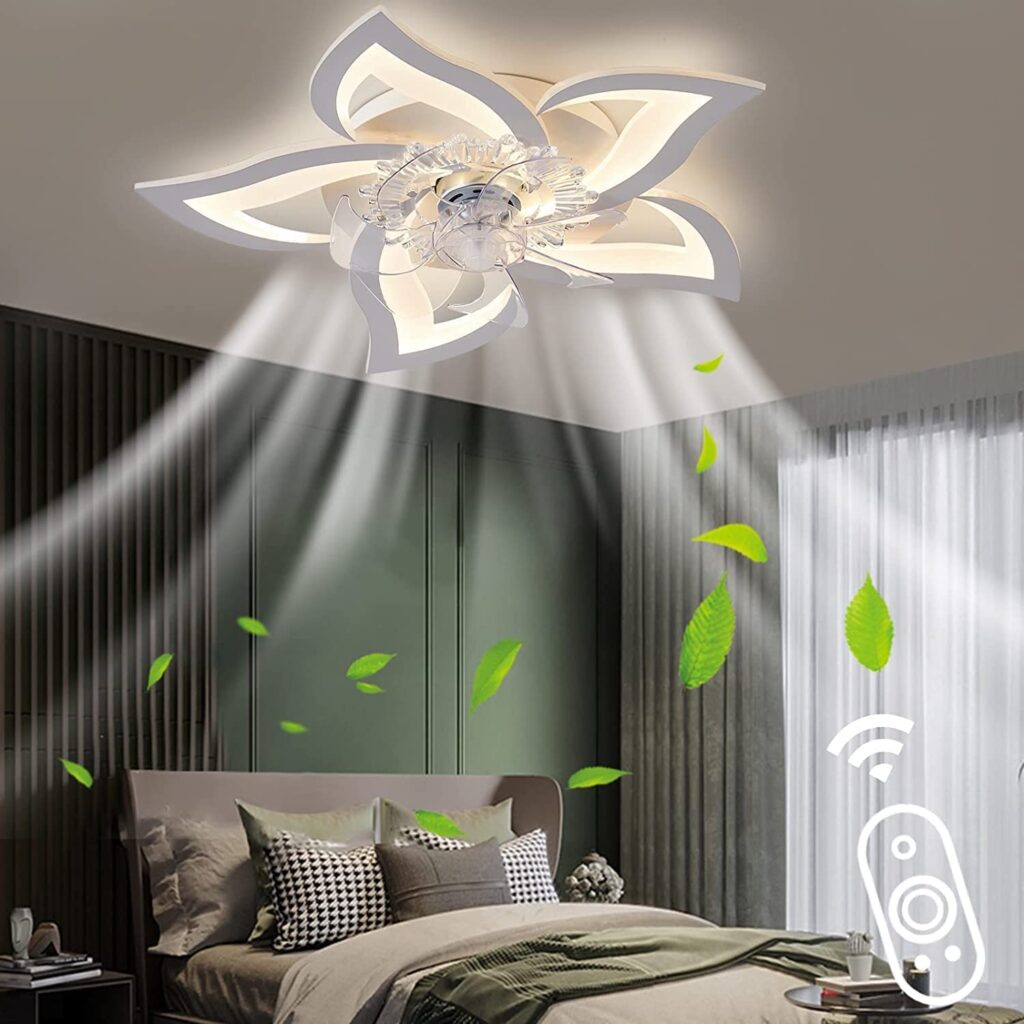
Ceiling Fans with Lights Installation guide: In this article, we will provide you with a step-by-step guide to installing a ceiling fan with lights in your home.
Thank you for reading this post, don't forget to subscribe!Ceiling fans are one of the most popular and cost-effective ways to cool a room in hot weather. They circulate air, which creates a cooling breeze that can make the room feel up to 8 degrees cooler. Additionally, ceiling fans with lights are also a great way to add illumination to your room without taking up any extra space. Installing a ceiling fan with lights is a DIY project that most homeowners can tackle themselves with a little guidance. If you are wondering What Are The Best Ceiling Fans With Lights then check some of the fantastic ceiling fans with light.
Benefits of Installing Ceiling Fans with Lights
Ceiling fans with lights offer numerous benefits, including:
- Energy Efficiency: Ceiling fans with lights are energy-efficient, which means they can help you save money on your energy bills. They use a fraction of the energy that air conditioning units use to cool a room.
- Dual Functionality: Ceiling fans with lights serve a dual purpose. They can cool a room and provide illumination, which means they take up less space and are more convenient than having separate fans and lights.
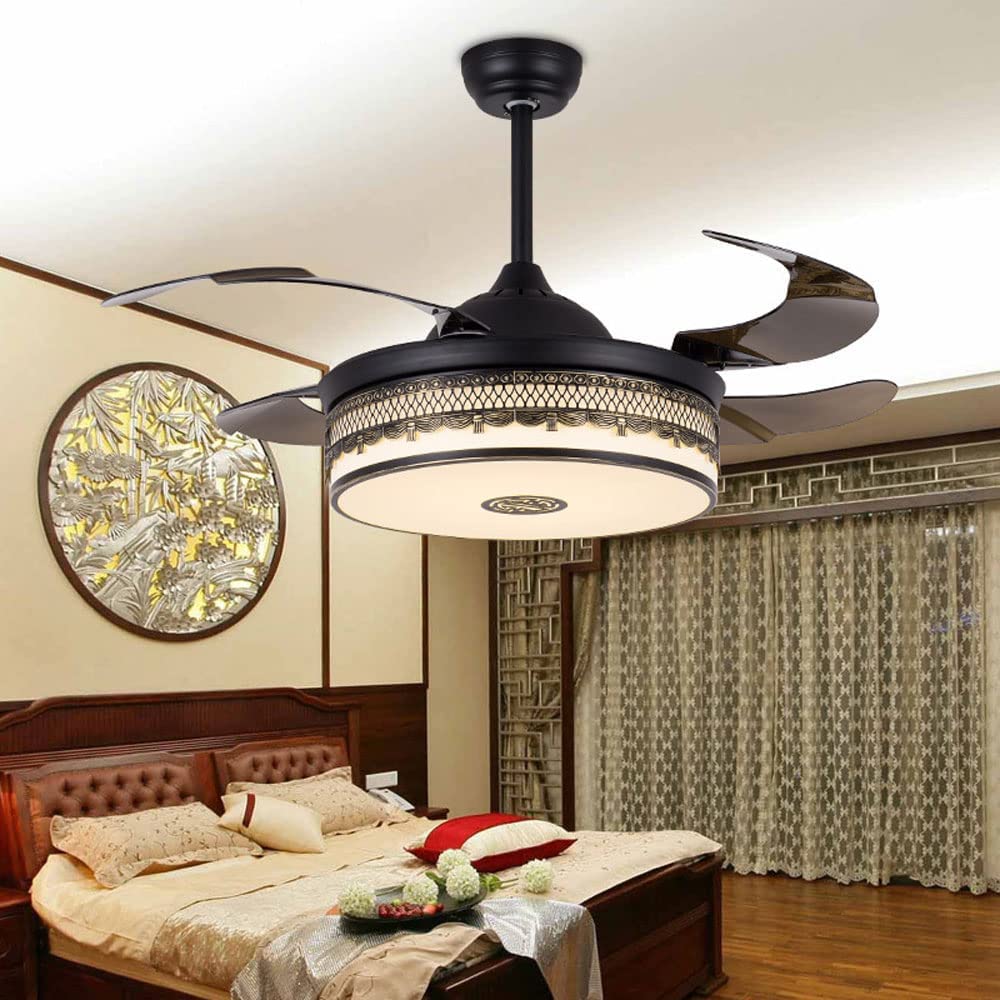
- Aesthetic Appeal: Ceiling fans with lights come in a wide range of styles and designs, which means they can add a touch of aesthetic appeal to any room. They can be used to complement the decor of your room or make a statement.
- Increased Comfort: Ceiling fans with lights can create a cooling breeze that makes a room feel more comfortable. This can be especially helpful during the hot summer months when air conditioning units may not be enough to keep a room cool.
Basic Safety Guidelines before Starting Installation
Before you start installing your ceiling fan with lights, it is important to take some basic safety precautions. These include:
- Turning off the power: Always turn off the power to the room where you will be installing the ceiling fan with lights. You can do this by switching off the circuit breaker that controls the power to the room.
- Using a voltage tester: Before you start working on the wiring, use a voltage tester to ensure that there is no electricity running through the wires.
- Using a ladder: When installing a ceiling fan with lights, you will need to use a ladder to reach the ceiling. Make sure the ladder is sturdy and placed on a level surface before you climb it.
Tools and Materials Required
To install a ceiling fan with lights, you will need the following tools and materials:
- Screwdrivers (flathead and Phillips)
- Wire cutters
- Pliers
- Electrical tape
- Wire nuts
- Voltage tester
- Ladder
- Drill
- Drill bits
- Mounting bracket
- Ceiling fan
- Light kit
- Light bulbs
- Screws
- Electrical box
- Wiring
Planning and Preparation
Before you start installing your ceiling fan with lights, there are a few things you need to do to prepare. These include:
- Measuring the room and ceiling height: Measure the room to determine the size of the ceiling fan with lights you need. Additionally, measure the ceiling height to ensure that the fan will be installed at the proper height.
- Choosing the right size and style of the ceiling fan with light: Choose a ceiling fan with lights that is the right size for your room. Additionally, choose a style that complements your decor.
- Wiring requirements and electrical considerations: Determine the wiring requirements and electrical considerations for your ceiling fan with lights. This will include the type of wiring you need and any electrical considerations that need to be taken into account.
- Proper support for ceiling fan installation: Ensure that your ceiling can support the weight of the ceiling fan with lights.
Ceiling Fans with Lights Installation Guide (Installation Steps)
Once you have completed the planning and preparation steps, you can start the installation process. Follow these steps to install your ceiling fan with lights:
- Turn off the power: Before you start working on the installation, turn off the power to the room where you will be installing the ceiling fan with lights. Use the voltage tester to make sure there is no electricity running through the wires.
- Remove the old light fixture: If you are replacing an old light fixture with a ceiling fan with lights, you will need to remove the old fixture. To do this, remove the screws holding the fixture in place and disconnect the wiring.
- Install the ceiling fan mounting bracket: Attach the mounting bracket to the ceiling using screws and a drill. Make sure the bracket is securely in place and able to support the weight of the ceiling fan with lights.
- Attach the fan blades to the motor: Attach the fan blades to the motor using the screws provided with the fan. Make sure the blades are evenly spaced and properly balanced.
- Install the light kit: If your ceiling fan with lights did not come with a pre-installed light kit, you will need to install one. Follow the instructions provided with the light kit to attach it to the fan.
- Connect the wiring: Connect the wiring from the ceiling to the wiring on the ceiling fan with lights. Follow the instructions provided with the fan to ensure that the wiring is properly connected and secured.
- Secure the fan to the mounting bracket: Once the wiring is connected, secure the fan to the mounting bracket using the screws provided with the fan.
- Install the light bulbs: Install the light bulbs into the light kit. Make sure you use the right type of light bulbs for your fan.
- Turn on the power: Turn on the power to the room and test the fan and lights to make sure they are working properly.
Electrical Wiring
Understanding electrical wiring is crucial when installing a ceiling fan with lights. Electrical wiring involves the use of wires, connectors, and switches to connect the fan to the electrical system in your home. There are two main types of wiring: standard wiring and pre-wiring.
Standard wiring involves connecting the ceiling fan with lights directly to the electrical system in your home using wires and connectors. Pre-wiring, on the other hand, involves running wires from the ceiling to a wall switch that controls the fan and lights.
Wiring the Ceiling Fan to the Electrical System
Wiring the ceiling fan to the electrical system involves connecting the fan’s wires to the wires in your home’s electrical system. Follow these steps to wire your ceiling fan with lights:
- Turn off the power: Before you start working on the wiring, turn off the power to the room where you will be installing the ceiling fan with lights. Use the voltage tester to make sure there is no electricity running through the wires.
- Remove the old light fixture: If you are replacing an old light fixture with a ceiling fan with lights, you will need to remove the old fixture. To do this, remove the screws holding the fixture in place and disconnect the wiring.
- Connect the wiring: Connect the wiring from the ceiling to the wiring on the ceiling fan with lights. Follow the instructions provided with the fan to ensure that the wiring is properly connected and secured.
- Secure the fan to the mounting bracket: Once the wiring is connected, secure the fan to the mounting bracket using the screws provided with the fan.
Installing a Wall Switch for Ceiling Fan and Light Control
Installing a wall switch for ceiling fan and light control involves adding a switch that allows you to control the fan and lights independently. Follow these steps to install a wall switch:
- Turn off the power: Before you start working on the switch, turn off the power to the room where you will be installing the switch. Use the voltage tester to make sure there is no electricity running through the wires.
- Run wiring from the ceiling to the switch: If you do not already have pre-wiring in place, you will need to run wires from the ceiling to the switch. Follow the instructions provided with the switch to ensure that the wiring is properly connected and secured.
- Install the switch: Install the switch into the electrical box in the wall. Follow the instructions provided with the switch to ensure that it is properly connected and secured.
- Connect the wiring: Connect the wiring from the switch to the wiring on the ceiling fan with lights. Follow the instructions provided with the fan to ensure that the wiring is properly connected and secured.
- Turn on the power: Turn on the power to the room and test the fan and lights to make sure they are working properly.
Overall, understanding electrical wiring and properly wiring your ceiling fan with lights to your electrical system is important for a successful installation. Installing a wall switch for ceiling fan and light control adds an extra level of convenience and control. By following these steps and taking basic safety precautions, you can successfully install a ceiling fan with lights in your home.
Troubleshooting and Maintenance
Even with proper installation, it is possible to experience issues with your ceiling fan with lights. Here are some common issues and solutions to help troubleshoot your ceiling fan.
Common Issues and Solutions for Ceiling Fan Installation
- Fan wobbling: If your ceiling fan wobbles, it could be because it is not securely mounted. Check the mounting bracket and make sure all screws are tight. You can also use a balancing kit to help balance the blades.
- Fan not working: If your ceiling fan is not working, make sure it is properly connected to the electrical system. Check the wiring connections and make sure the power is turned on.
- Lights not working: If the lights on your ceiling fan are not working, make sure the light bulbs are properly inserted and functioning. Check the wiring connections and make sure the power is turned on.
- Fan making noise: If your ceiling fan is making noise, it could be because of loose parts or unbalanced blades. Tighten all screws and use a balancing kit to balance the blades.
Maintenance Tips for Long-Lasting Performance
Proper maintenance is important to ensure the long-lasting performance of your ceiling fan with lights. Here are some maintenance tips to keep your fan running smoothly:
- Clean the blades regularly: Dust and dirt can build up on the blades, which can cause the fan to become unbalanced and noisy. Use a soft cloth or brush to clean the blades regularly. You can check our best way to clean ceiling fans article for cleaning guide.
- Lubricate the motor: Over time, the motor on your ceiling fan can become dry and noisy. Lubricate the motor with a few drops of oil to keep it running smoothly.
- Check the screws regularly: Make sure all screws are tight and secure. Loose screws can cause the fan to become unbalanced and noisy.
- Replace worn parts: If any parts of your ceiling fan with lights become worn or damaged, replace them promptly. This includes blades, light bulbs, and wiring.
By following these troubleshooting and maintenance tips, you can keep your ceiling fan with lights running smoothly and ensure long-lasting performance.
Frequently Asked Questions
-
Can I install a ceiling fan with lights myself?
Yes, installing a ceiling fan with lights is a DIY project that most homeowners can tackle themselves with a little guidance. However, if you are uncomfortable working with electrical wiring or if you are unsure about the installation process, it is always best to hire a professional.
-
How do I choose the right size ceiling fan with lights for my room?
To choose the right size ceiling fan with lights for your room, measure the room and determine the square footage. Then, choose a fan with a blade span that is appropriate for the square footage of your room. Additionally, make sure the fan is installed at the proper height to ensure optimal performance.
-
What type of light bulbs should I use in my ceiling fan with lights?
The type of light bulbs you should use in your ceiling fan with lights will depend on the specifications of your fan. Always refer to the instructions provided with your fan to determine the type of light bulbs that are appropriate.
Conclusion
Installing a ceiling fan with lights is a great way to cool a room and add illumination without taking up any extra space. With a little planning and preparation, most homeowners can tackle this DIY project themselves. By following the step-by-step guide provided in this article and taking basic safety precautions, you can successfully install a ceiling fan with lights in your home.
